
Add a Workspace
Create a workspace for a brand, location, or team, then connect its social channels.
Open Workspaces. Select your profile picture in the top right corner, then choose Workspaces.
Select Create Workspace. If the button is greyed out, you have reached the workspace limit on your plan. Add the workspace add-on on the Billing page to create more.
Name it. Enter a workspace name, which is required, and an optional description.
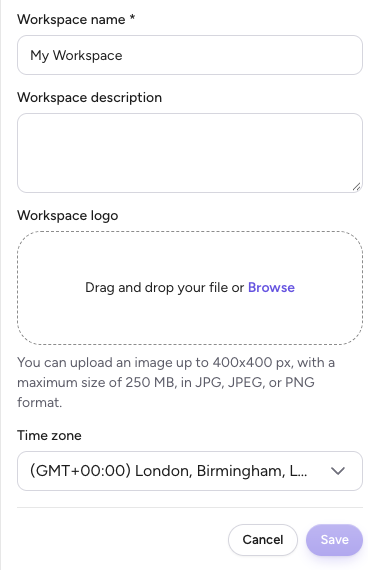
Add a logo (optional). Drag a file in or select Browse. Logos can be up to 400 by 400 pixels and 250 MB, in JPG, JPEG, or PNG format.
Choose a time zone. Pick the time zone this workspace works in. Scheduled posts use it.
Save the workspace.
Switch to it. Use the workspace switcher at the bottom of the left navigation and choose your new workspace.
Add channels. Open Work, then Channels, and select Connect Account next to each social channel you want to use.
Each workspace has its own channels, so connect them after you switch to the new workspace.