
Create and Schedule a Post
Write a post, add media, and schedule it for a date and time, or save it as a draft.
Start a post. Select Create, then Post. You can also open Work, then Calendar, and select Create Post.
Choose your channels. Under Select Social Media Platforms, select each channel the post should go to. Connected channels appear as buttons, such as Facebook, and selected ones turn purple. If you have not connected a channel yet, select Connect a channel.
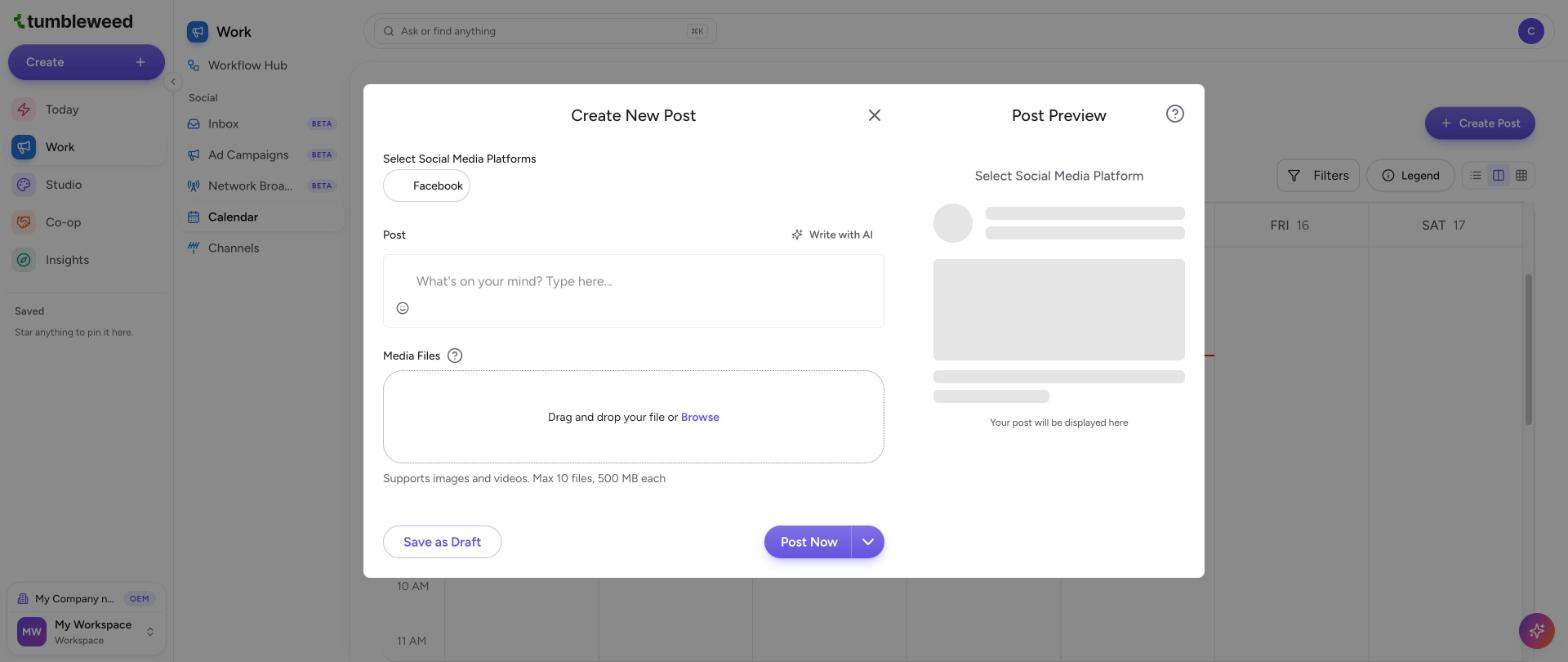
Write your post. Type in the Post field, or select Write with AI to draft it.
Add media (optional). Drag in or Browse for images and videos, up to 10 files. The size limit per file depends on the channels you picked, and it is shown under the box.
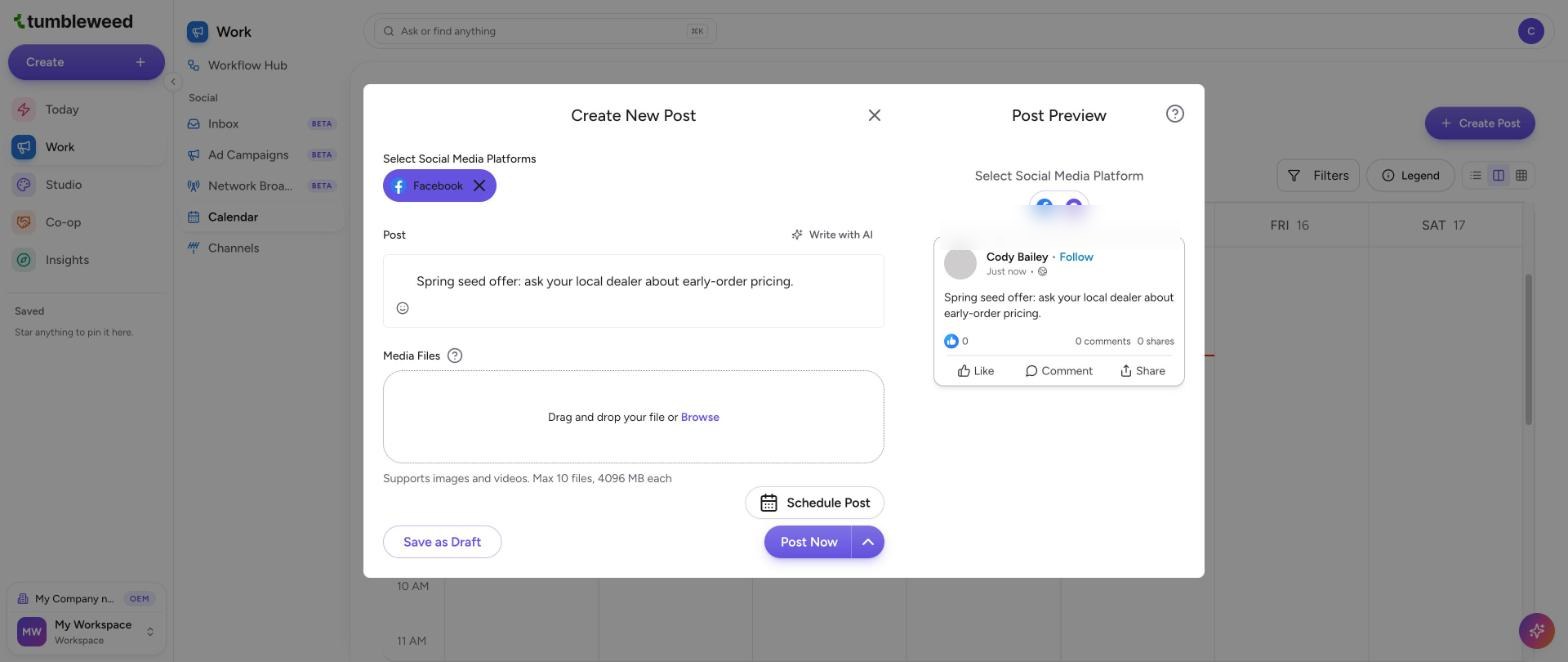
Check the preview. The Post Preview on the right shows how your post will look on each channel you chose. Select a channel icon above it to switch.
Open the schedule options. Select the arrow next to Post Now, then choose Schedule Post.
Pick a date and time. Date and Time fields appear. Choose a day from the calendar. For the time, pick one from the list, switch between AM and PM, and select Save.
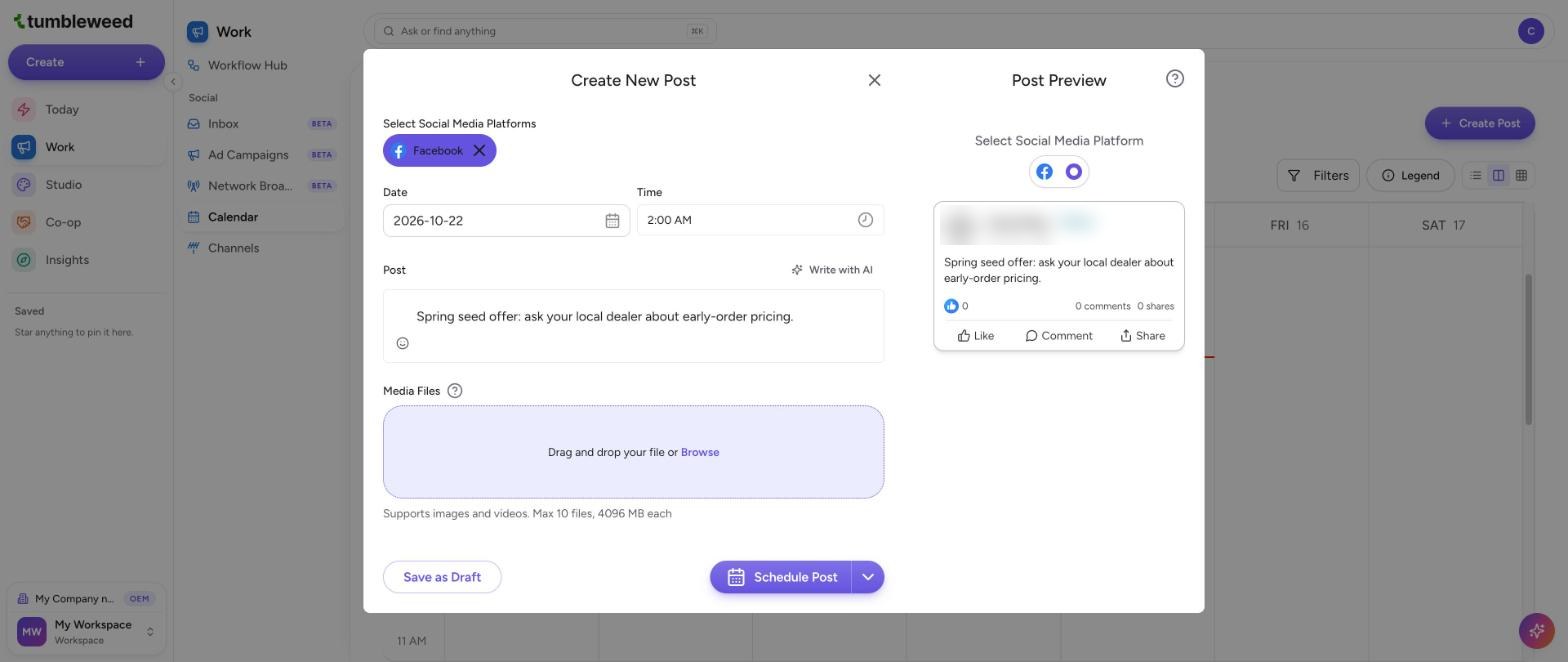
Select Schedule Post. The button reads Schedule Post once you choose to schedule. To keep working on it later, select Save as Draft instead.
Check it. Open Work, then Calendar to see your scheduled posts. The buttons at the top right switch between list, week, and month views.
Closing the window with unsaved changes asks you to confirm. Select Keep Editing to stay, or Save as Draft before you close.