
Design a Post
Start from a template in Studio, make it yours, then share it as a post or download it.
Open Studio. Select Studio in the left navigation. The Designer opens with a blank design called Untitled design. You can also select Create, then Design.
Choose a size. Select Size, then pick a format such as Instagram post, Instagram story, or Facebook cover. Use the search box to find another, or choose Custom size.

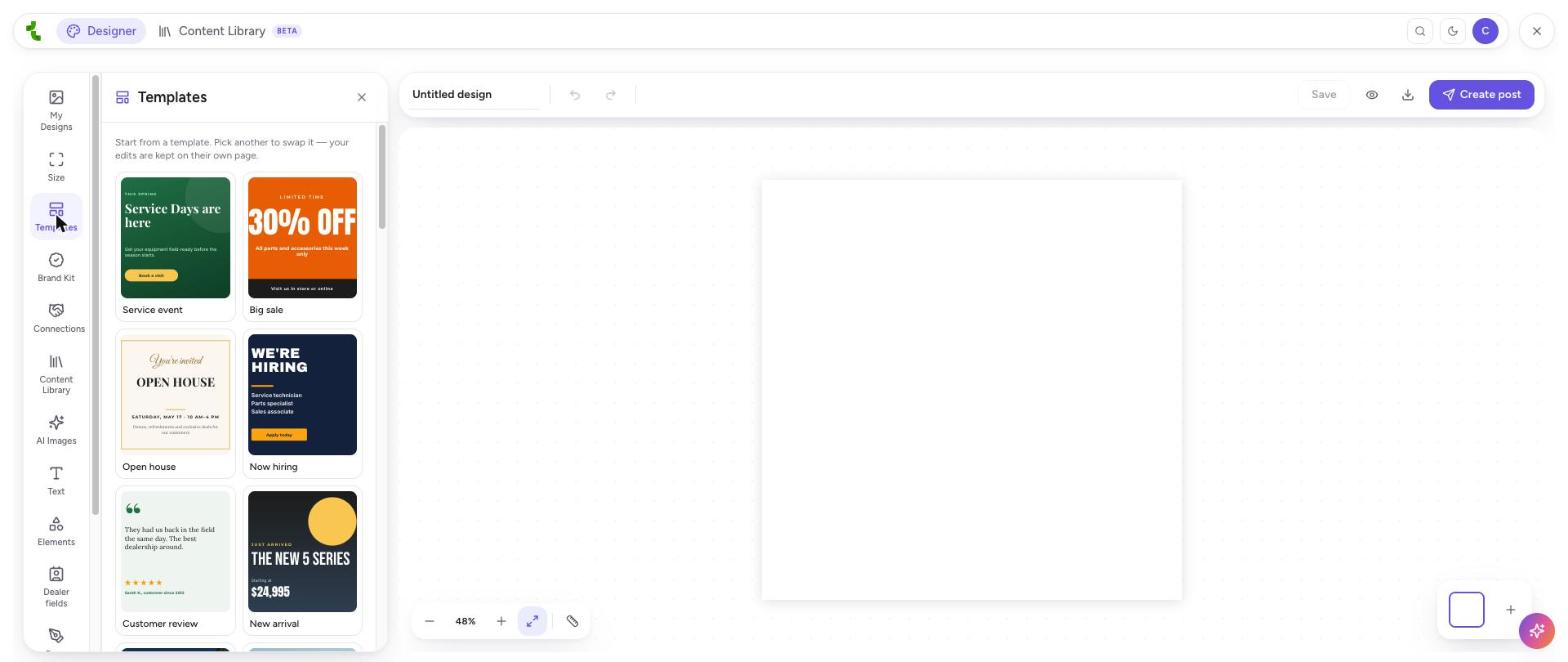
Pick a template. Select Templates and choose the one closest to what you want, such as Service event, Big sale, or Open house. You can pick another to swap it, and your edits are kept on their own page.
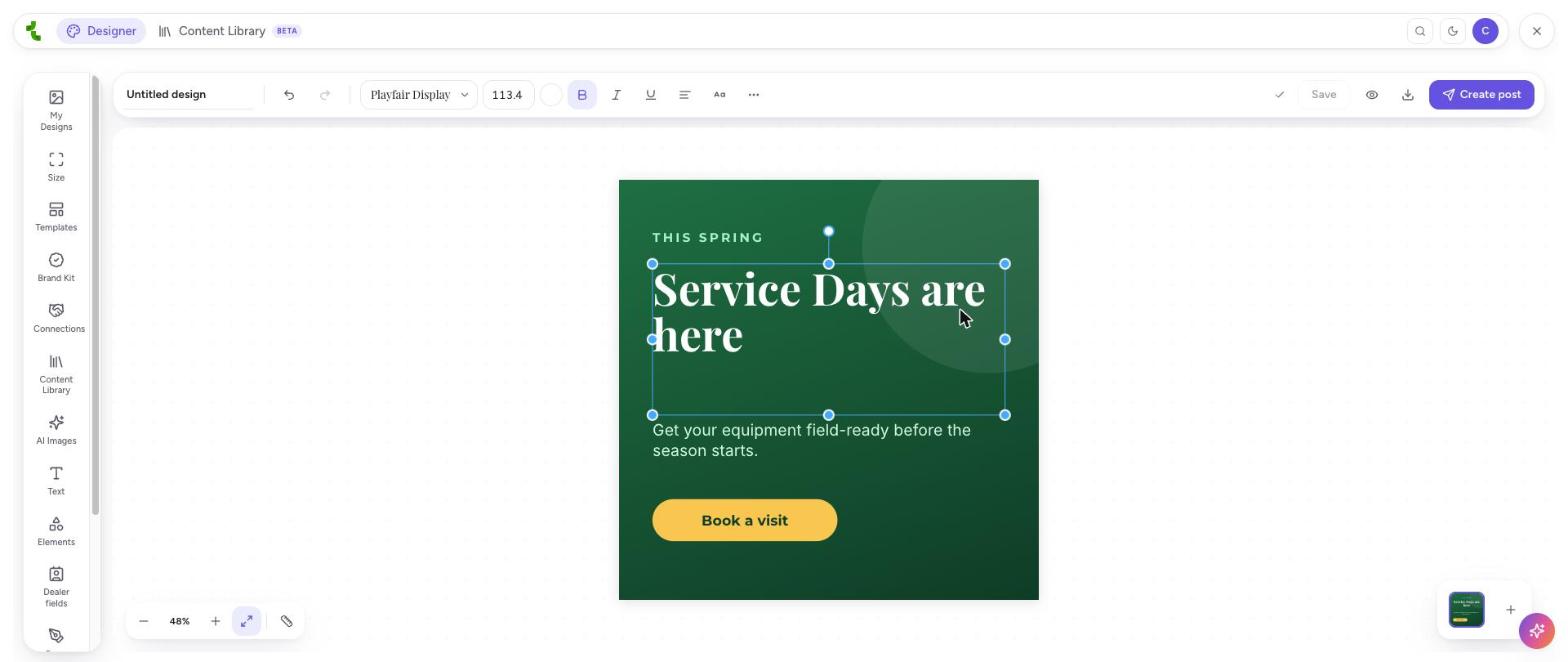
Edit the text. Select a text element on the canvas. The toolbar at the top lets you change the font, size, color, bold, italic, underline, and alignment. Double-click the text to type your own words.
Add more. Use Text, Elements, AI Images, and Content Library in the left toolbar to add words, shapes, pictures, and your own uploads. Brand Kit shows your saved brand elements.
Name your design. Select Untitled design at the top and type a name. Your work saves automatically, and the top bar shows Saving, then Saved.
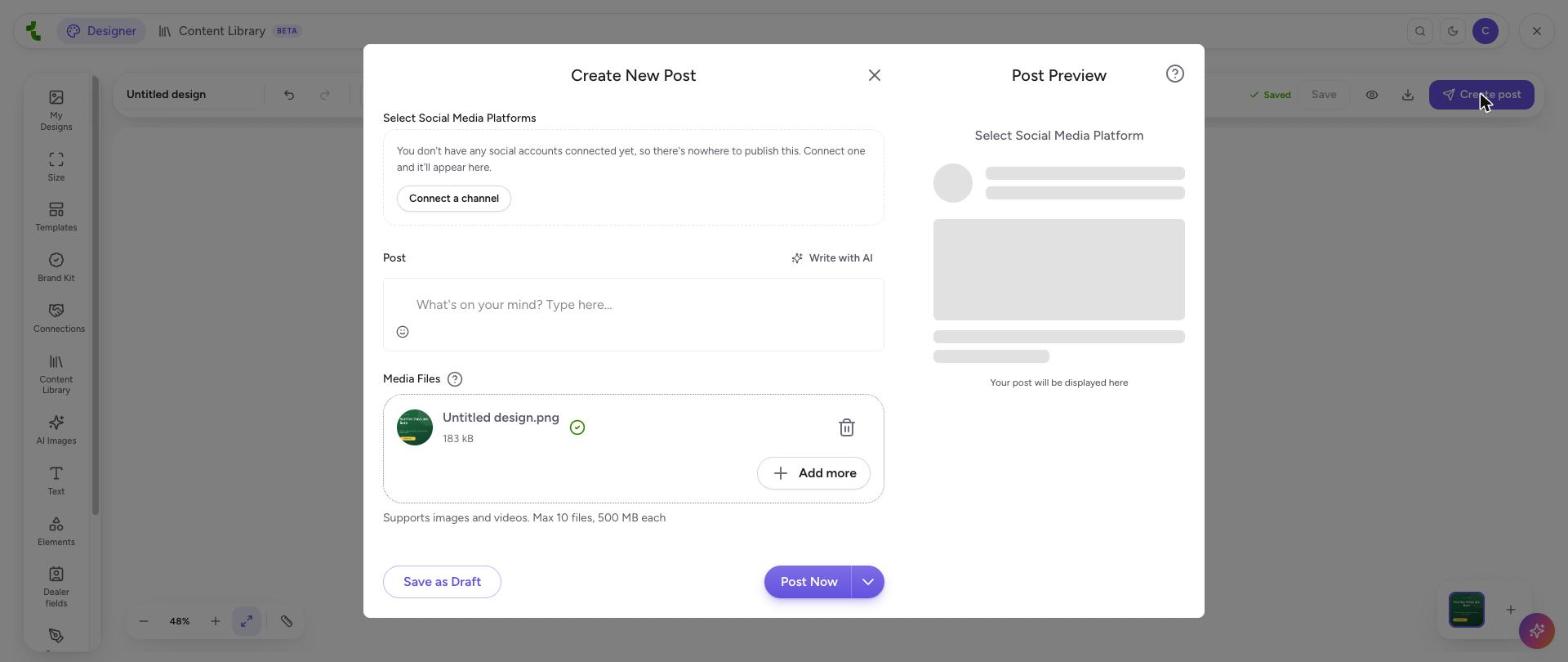
Share or download it. Select Create post to start a post with your design attached, or select the download icon to save an image.
Find it later. Open My Designs in the Designer to see everything you have saved.
Give your design a name before you leave the Designer. It is how you will find it under My Designs.